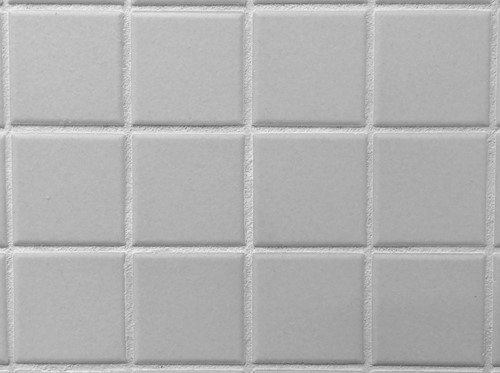
You love your tiles. But they don't seem to do your bathroom justice anymore. Ask yourself, is it the tiles themselves, or what's in between that makes you cringe? Is the grout cracked, faded, yellowish or gray?
Breathe new life into a dirty-looking bathroom tile floor, kitchen backsplash or tile shower by simply re-grouting the tiles and polishing them. Here's how to do it.
What you'll need
- Margin float
- Earplugs (if you're using a rotary. It's loud!)
- Two sponges
- Safety glasses
- Two buckets
- Manual grout removal tool with a carbide blade
- Rotary tool or reciprocating saw (not needed for small jobs)
- Grout
- One cup vinegar (for polishing)
Step 1: choose the right tool for the job
A rotary tool or reciprocating saw is faster. But you'll have to be extra careful not to damage a tile. And if you don't have a rotary tool, you'll need to buy or borrow. For these reasons, generally, you'll only want to go to this option if you have a larger space to re-grout like a master bathroom.
On the other hand, removing grout manually can be tedious and slow at times. *Pro tip* For smaller jobs, start with a manual tool. You can always switch to a power tool if you find you don't have the patience.
Step 2: remove the existing grout
Start by putting on your safety glasses and ear protection if using a power tool. Whether using a manual tool or electric, slowly guide your instrument through the in-between, cutting out the grout. *Pro tip* Start in a less seen area of the room like behind the door or toilet. That way, if you do make a mistake (break a tile) when learning how to use the tool, it's less of a deal-breaker, and you won't feel you must replace the tile.
Step 3: mix & apply the grout
About the Author
